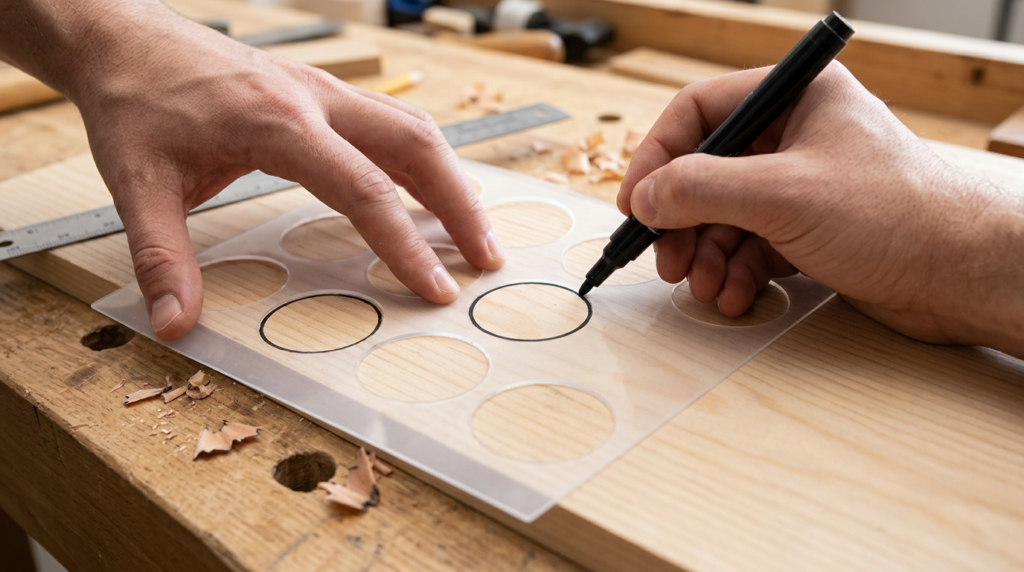
Quick answer: A 2 inch circle stencil is used to trace clean, consistent circles onto needlepoint canvas for motifs like ornaments, round patches, gift tags, coasters, or small medallions. It helps you keep shapes even, centered, and repeatable across a set. You can mark the outline, find the true center, and plan stitch placement without freehand wobble.
Common Needlepoint Projects That Benefit From a 2 Inch Circle
A 2-inch circle hits a sweet spot for small, finished pieces: it’s large enough to show a clear design, but small enough to finish quickly and use in multiples. People often use it for mini ornaments, round gift toppers, small coasters, luggage tags, patches, and little “badge” motifs that can be appliquéd onto a larger project.
If you’re making a set—say, several ornaments that need to match—repeatability matters more than you think. A stencil like the 2 inch circle stencil gives you the same curve every time, so your finishing looks intentional instead of “close enough.”
It also helps with layout. Even if your final design isn’t a plain circle, tracing one can give you a boundary for a wreath, a monogram frame, a snowflake medallion, or a round background that’s easy to fill with basketweave or continental.
How to Trace and Center a Circle on Canvas
Start by deciding where the circle should land relative to the canvas threads. For a centered motif, find the canvas midpoint by counting threads from the edges, then lightly mark the center with a removable pencil or a fine-tip marker made for fabric/canvas. Place the stencil so the circle is balanced around that point before you trace.
Use a light touch. A thin mechanical pencil often works well on needlepoint canvas because it stays precise between threads; for darker canvases, a white or light-colored marking pencil can be easier to see. Trace only what you need: many stitchers mark four “compass points” (top, bottom, left, right) and a few curve guides, then connect the curve by eye as they stitch to avoid heavy lines showing through.
If you plan to cut the circle out after stitching, add a second line outside the stitched area for seam allowance. A typical allowance is about 1/4″ to 1/2″, depending on finishing style, but keep it consistent across a set so everything finishes the same size.
Avoiding Wobbly Circles and Finishing Problems
Circles can look lumpy on square grid canvas because the curve is built from tiny steps. The cleanest look comes from committing to symmetry: count threads carefully, mirror each quadrant, and check your curve every few stitches instead of waiting until the end. If one side bulges, it’s usually because the stitch path drifted a thread off somewhere early.
Think about your finishing before you stitch. If the circle will be turned into an ornament or patch, keep the outermost stitches neat and firm; loose edge stitches can distort when the piece is stretched or stuffed. Also watch for marking lines that might peek through light threads—testing on a scrap of canvas can save you from permanent shadowing.
For round pieces that will be cut out, avoid placing delicate specialty stitches right on the cut line. Give yourself a small “buffer ring” of sturdy stitches (basketweave or continental) so the edge holds together during finishing.
When a Stencil Is Better Than Freehand
Freehand circles are fine for casual doodle-style motifs, but a stencil shines when you need consistency, clean geometry, or multiple matching pieces. It’s also helpful if you’re adapting a charted design into a round format and want a reliable boundary to contain the background stitches.
A stencil doesn’t replace counting—it supports it. You still need to align the traced circle to the canvas grid and decide how the curve will “step” from thread to thread. The stencil just gives you a trustworthy starting shape so your eye isn’t guessing where the curve should go.
If you want help choosing the right marking tool, planning a centered motif, or figuring out a finishing-friendly edge, ask at Blue Willow Needlepoint.